Nut Butter and Jelly Baked Oatmeal Cups
These easily adaptable baked oatmeal cups are an easy make-ahead breakfast for busy mornings. Use your favorite nut butters and jellies for endless flavor options!
Confession: I hate peanut butter and jelly.
I have ever since I was a kid. Lunch was usually peanut butter on bread. Open faced. Don’t let jelly near it. (Apparently my career as a food snob started early.)
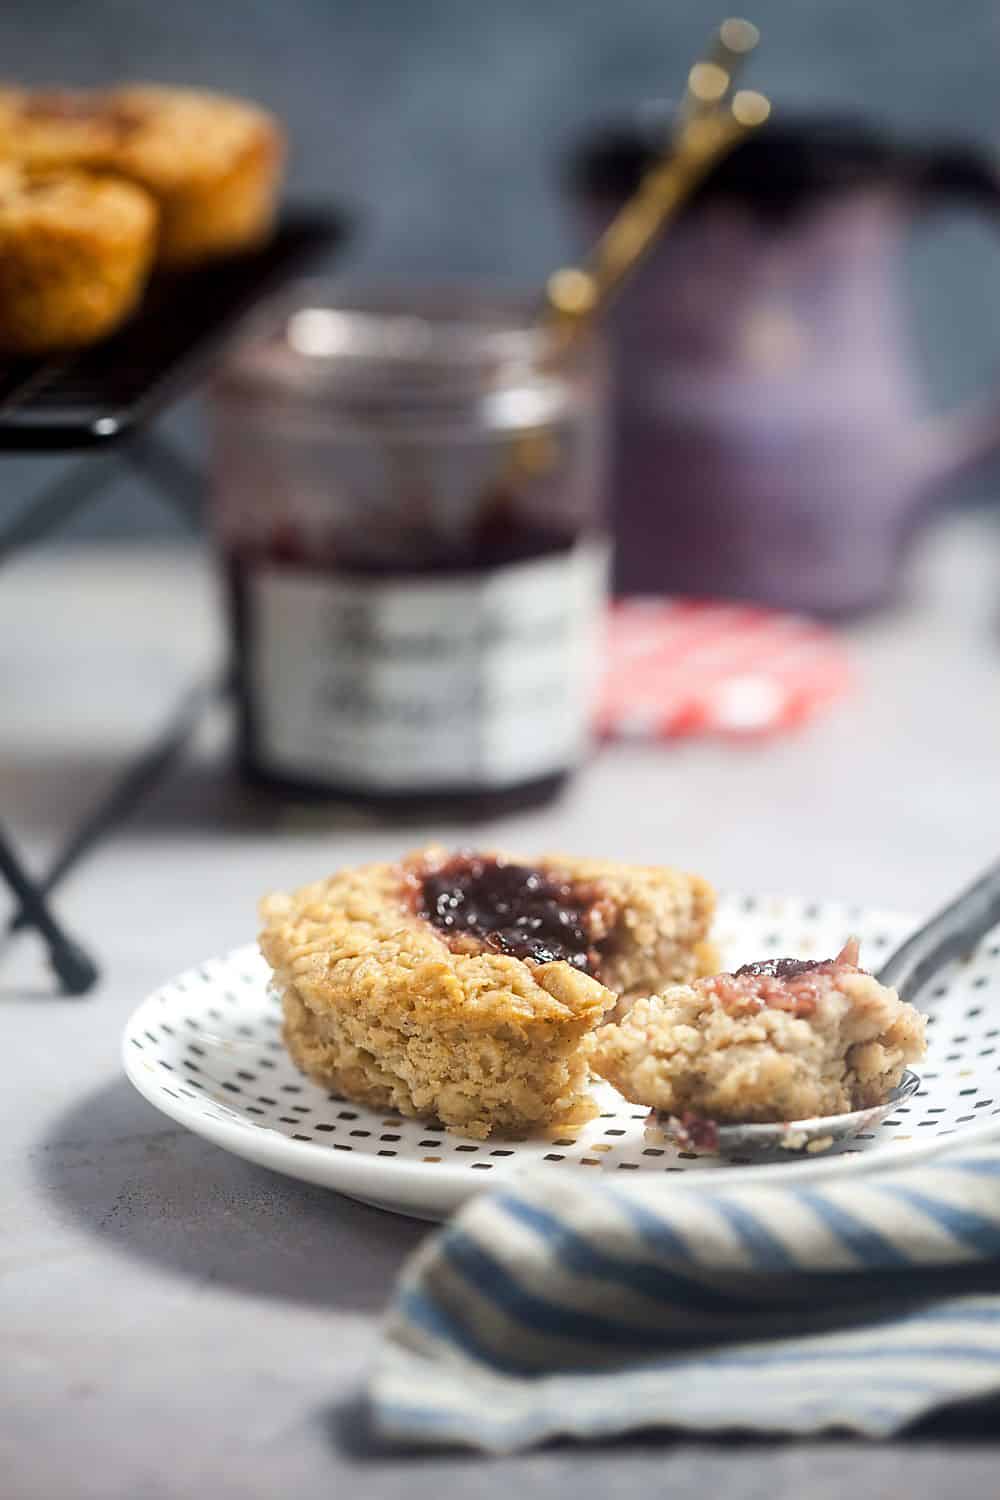
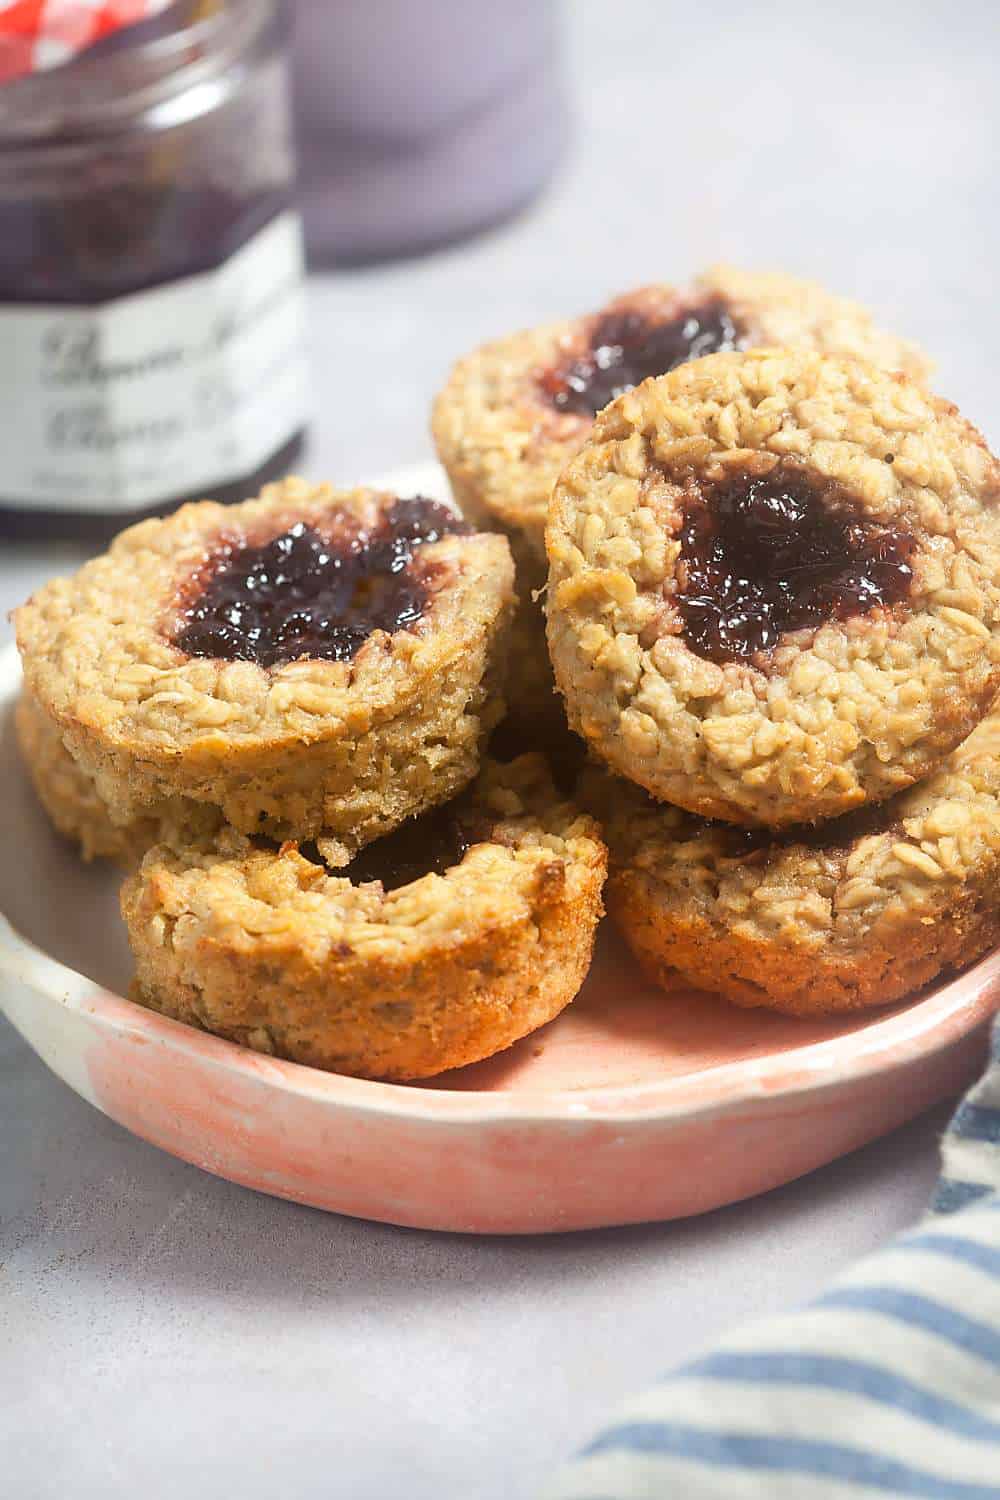
I make a slight exception for these baked oatmeal cups. The oats have nut butter baked into them, and they’re topped with a dollop of jam that gets all thick and condensed like the jelly in a thumbprint cookie. In short, they’re delicious – and they’re equally enjoyable hot from the oven as they are chilled from the fridge.
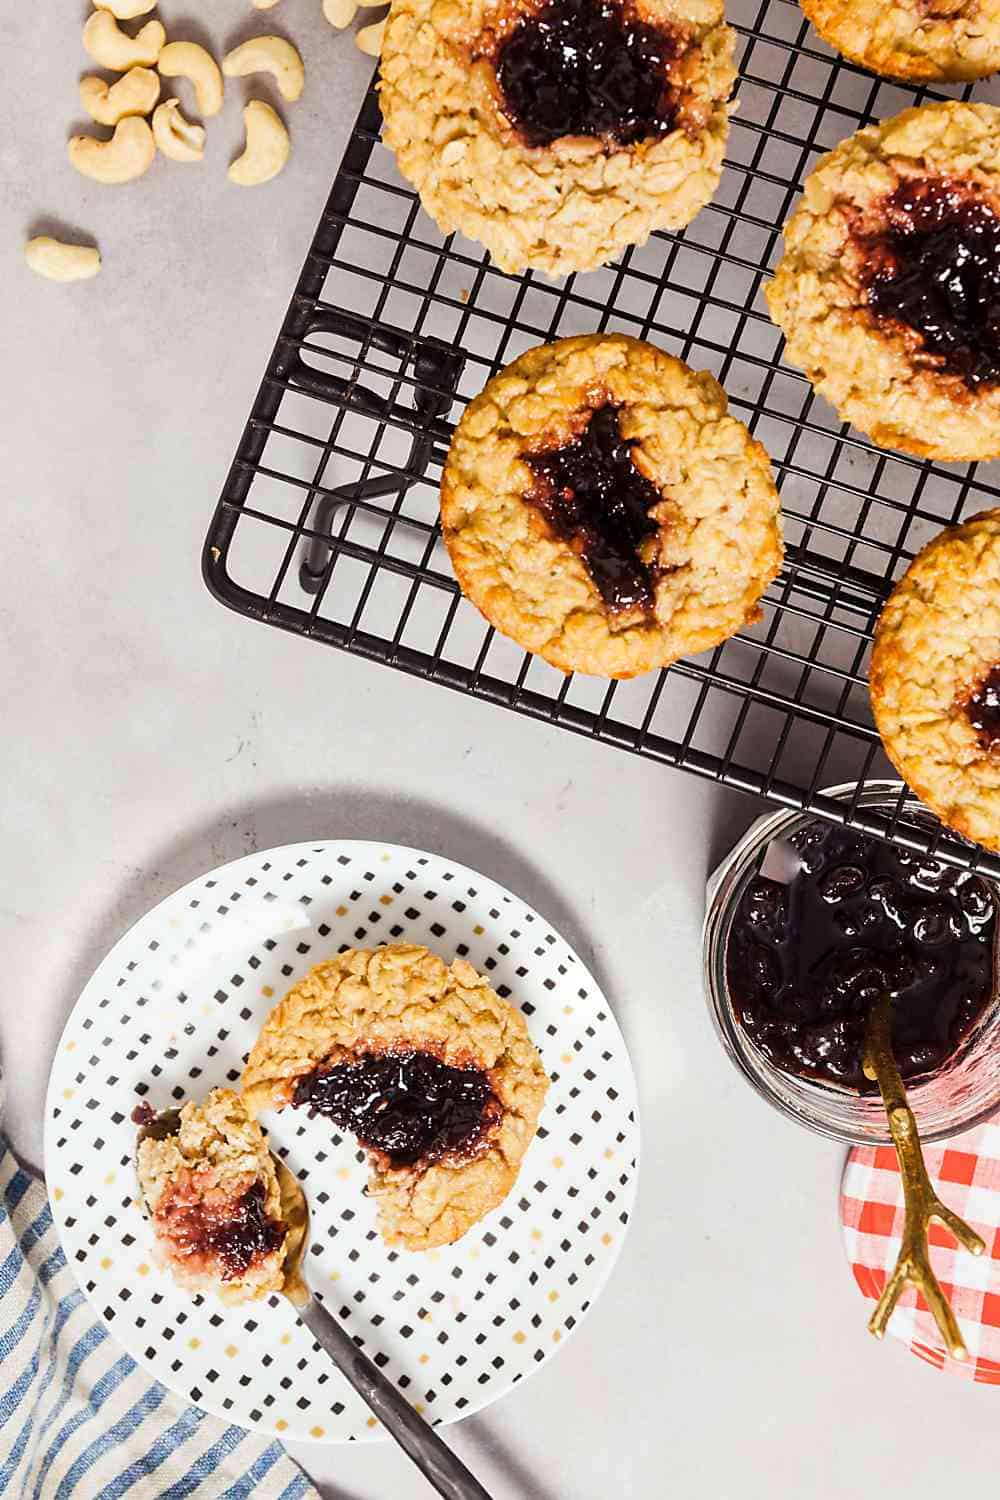
If the traditional peanut butter and grape/strawberry combo isn’t your thing, you can play around with your favorite flavor combinations. Maybe you’ll like almond butter and this homemade blackberry jam recipe. Or sunflower butter and apricot preserves. The baked oatmeals cups pictured here are my current favorite – cashew butter and tart cherry preserves.
How to make baked oatmeal cups
Baked oatmeal cups are super simple to make, so you can easily whip up a batch on Sunday night and have breakfast ready for the week ahead.
Start by beating together eggs, coconut milk (the kind from a carton, not a can), applesauce, and vanilla. The eggs help hold the oatmeal cups together; the coconut milk and applesauce make them tender.
Next, beat in your favorite nut butter and a drizzle of honey – just enough to give the oatmeal a subtle hint of sweetness. If you keep your nut butter in the refrigerator like I do, scoop out what you need and put it in the warm oven for a few minutes to soften a little bit. That way it will be easier to mix in. You want to get everything as smooth as you can, but don’t worry if there are a few small lumps of nut butter – they’ll just create pockets of flavor in your oatmeal cups.
Now, mix in the oats, a pinch of salt, and some baking soda to help them rise slightly and give them a lighter texture.
Scoop the batter into a greased muffin tin and top each one with a spoon full of jelly, then bake until they’re slightly golden. When they’re done, these baked oatmeal cups will have a thin crunchy layer around the edge, with a soft, tender center. You can eat them with a spoon if they’re warm, or pick them up and eat them like a muffin if they’re cold. Either way, you’re in for a treat!
Ingredients
- 2 large eggs
- 1 ½ cups unsweetened coconut milk
- ½ cup unsweetened applesauce
- 1 teaspoon vanilla extract
- 2 Tablespoons honey
- ½ cup nut butter peanut, almond, cashew, etc
- 3 cups rolled old-fashioned oats
- 1 teaspoon baking powder
- 1 pinch sea salt
- ½ cup jelly or preserves
Instructions
- Heat your oven to 350ºF. Spray a 12-cup muffin tin with nonstick spray.
- In a large mixing bowl, beat together the eggs, coconut milk, applesauce, and vanilla. Beat in the honey and nut butter until smooth. Stir in the oats, baking powder, and salt until fully combined.
- Scoop the batter into the prepared muffin tin. Spoon one heaping teaspoon of jelly into the center of each muffin.
- Bake 30-35 minutes, or until dry on top and slightly browned around the edges.
- Let cool 5 minutes. Remove from the pan and cool completely on a wire rack.
- Store in the refrigerator. Serve warm or cold.


Wanting to make some for my husband but he can’t have coconut. What could I use in place of it?
any dairy or nondairy milk of your choice will work!
We liked these but thought they were a little bland. Any suggestions on how to make them more flavorful?
What kind of nut butter and jelly did you use?
I’m making mine right now! But what do you mean by the top being dry exactly? My edges are starting to brown and the oat all looks dry enough, but the preserves still look wet. Is that okay and will the preserves harden enough to not be a mess after they cool?
Little girl is home sick from school so my plans for the day had to be revised. I ended up making these – so good! I used peanut butter and red currant jelly, and made some as regular sized cups (took about 45 minutes to bake) and some in the mini cupcake pan (baked for about 25 minutes). Looking forward to experimenting with other butters/jellys.
I’m so glad you liked them, and I hope your daughter feels better soon! Current jelly sounds amazing!