What’s in season?


search for a favorite recipe
Browse By
Special Diet

Vegetarian 
Vegan 
Paleo 
Keto 
Low Carb 
Gluten Free 
Dairy Free 
Whole 30
What’s Cooking now?
-
New York Black and White Cookies
Bring that classic bakery flavor to your kitchen, so you can have a taste of NYC any time!
-
Chewy Pistachio Chocolate Chip Cookies
Meet my new favorite cookies: Chewy Pistachio Chocolate Chip Cookies with crackled tops, dark chocolate chunks, and a sprinkle of sea salt for a gourmet twist.
-
Smoky Lentil Soup with Harissa and Yogurt
This Smoky Lentil Soup is a one-pot wonder hits that packed with pantry staples. With help from harissa, roasted red peppers, and pre-cooked lentils, you can build layers of warmth and depth in about 35 minutes.
-
Smoky Sheet Pan Salmon with Gnocchi and Hot Honey Yogurt Sauce
Sheet pan gnocchi is my weeknight secret weapon. Add crispy salmon, roasted broccoli, and a drizzle of spicy-sweet hot honey yogurt and it’s absolute magic.


Hi,
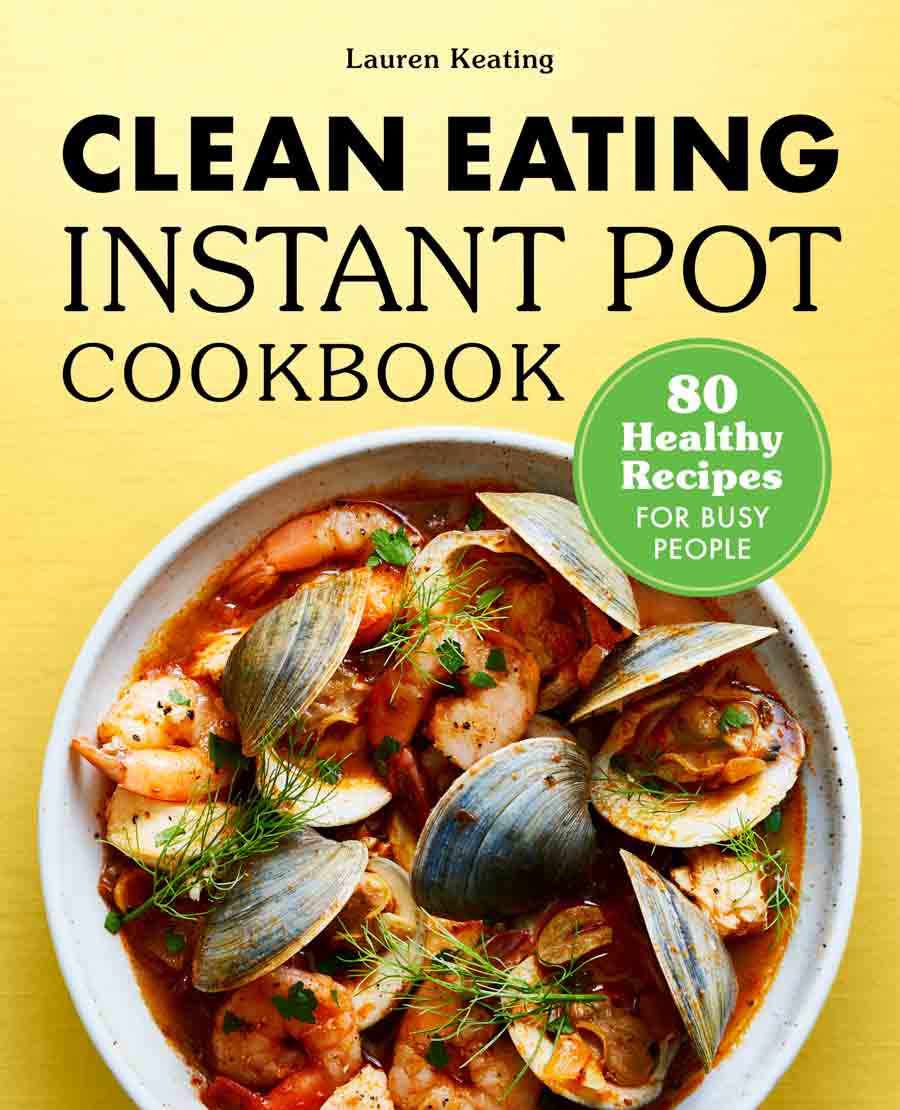
I’m Lauren
I’m a certified plant-based cook, 5-time cookbook author, and enthusiastic omnivore who loves looking for creative ways to make weeknight meals more nutritious using fresh, seasonal ingredients.