Healthy Weeknight Dinner Recipes | 15+ Healthy Pasta Recipes and Noodles Pasta with Spinach, Chili, and Walnuts
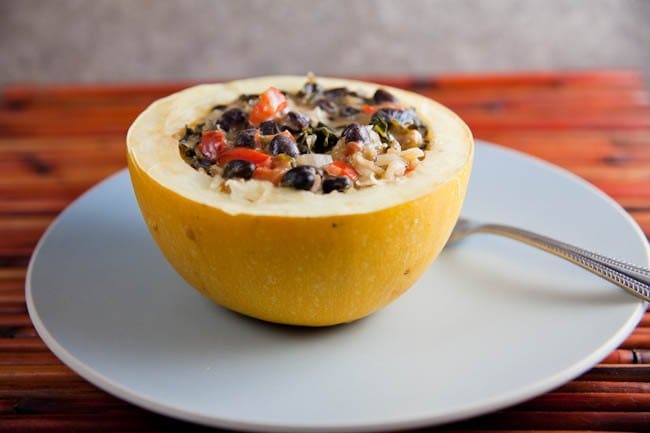
Gluten-Free | Healthy Weeknight Dinner Recipes | Low Carb | Vegetarian Recipes Cajun Stuffed Spaghetti Squash