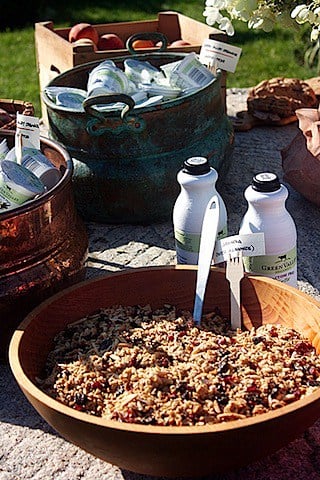
Last weekend, on a small farm in central Pennsylvania, something magical happened.
A few dozen food bloggers from all over North America gathered at Linden Gardens for the second annual Big Summer Potluck. I’m struggling to come up with words that will do this event justice.
We laughed. We learned. We cried. We hugged (for at least 8 seconds). I didn’t see a single business card exchanged. Instead of “networking” we connected. Someone – I think it was Maggy – said that once you share a meal with someone, you’re friends. At Big Summer Potluck, truer words couldn’t be spoken.
Like most of the country, New York has been suffering through a heat wave for the past week. Quite frankly, it’s too hot to cook or even to eat anything very substantial. For the first few days I was content eating salads for dinner, but after more than two or three days of salad I start to get cranky so I tried to think of something that would satisfy my raving for real food without requiring me to actually cook (since the minutes I spent over the stove sautéing onions last night left me so hot that I couldn’t even enjoy the steak that Shawn grilled for me).
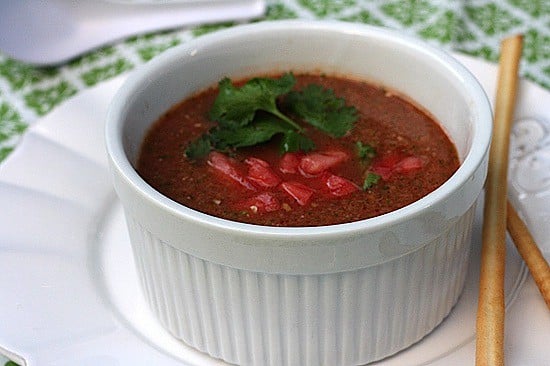
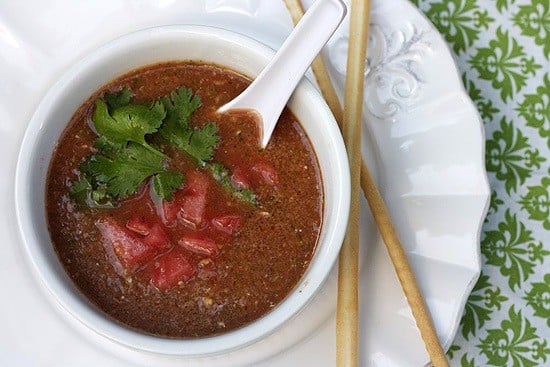
An ice-cold gazpacho seemed like it would hit the spot, but that suggestion was met with a resounding, “No way!” My effort to convince Shawn that gazpacho is basically just pureed salsa (the only way he’ll eat raw tomatoes) didn’t get me anywhere. Luckily, I had this recipe up my sleeve — a sightly spicy watermelon soup without a single tomato.
My cookbook collection was taking over the dining room. What started as a few carefully selected books calling the top of the radiator home had become a mess of books stacked every which way and cluttering up the space. Even our marble bookends couldn’t keep the heavy stack upright, and when they came crashing down for the millionth time, we realized that we needed some real shelves in the space. You totally see where this is going, right? Yup… we talked about going to Ikea and buying some shelves to turn into a fake built-in.
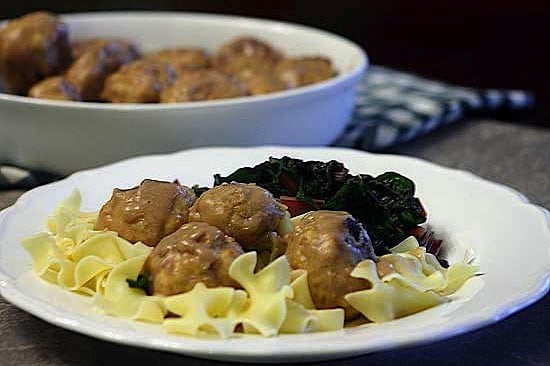
Which inevitably lead me to crave Swedish meatballs (which is funny, considering I don’t particularly care for the ones that Ikea serves.) Anyway, we never made it to Ikea but a few weeks later the idea of Swedish meatballs was still nagging at me. Traditional Swedish meatballs are very heavy though — full of pork and beef, fried in ungodly amounts of butter, and coated in cream — and well, stores are already selling bathing suits….
I found a recipe from Elise that looked easy enough to lighten up and I made a few substitutions: extra-lean turkey instead of red meat, baking instead of frying, way less butter. Served over egg noodles and next to some sauteed chard, these Swedish meatballs made a delicious meal that definitely satisfied my craving. (If you’re wondering, the cookbooks have been relocated to a better shelf in the living room where they stay put without any bookends.)
Kitchen Tip: We don’t eat a lot of bread, so I don’t buy it very often. When we do buy it, it tends to get stale before we can eat it all. I’ve taken to throwing the past few end pieces into a bag in the freezer to use as fresh breadcrumbs, which yield softer meatballs than “regular” bread crumbs. Just pull out a frozen pice of bread or two, smash it with a mallet to make crumbs, and let it defrost for a few minutes.
Voting for Round 2 of the Ridiculously Delicious Challenge opens at 6am EST on March 1st. I’d really appreciate it if you would consider voting for me HERE. Thanks!
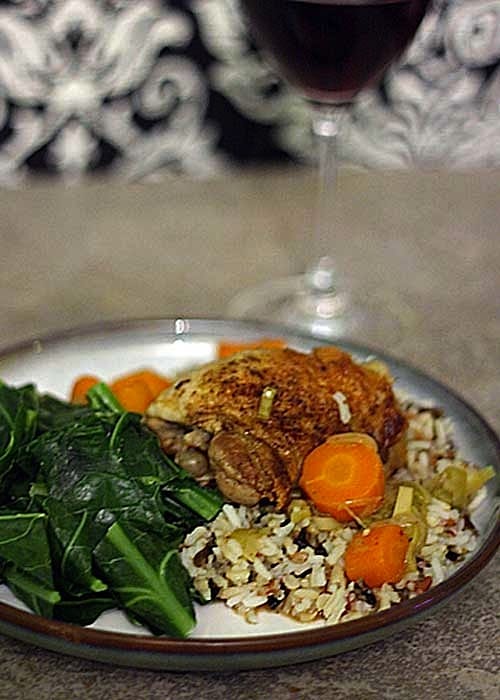
I was flipping through an old issue of Food + Wine this weekend, when this unassuming recipe for chicken thighs braised in apple cider vinegar caught my eye. There was no picture and very little by way of a description, but for some reason I felt compelled to make it. Despite a brief moment of fear when I thought I might end up with something resembling pickled chicken, I immediately added the ingredients to my grocery list and prepared it for dinner that same night.
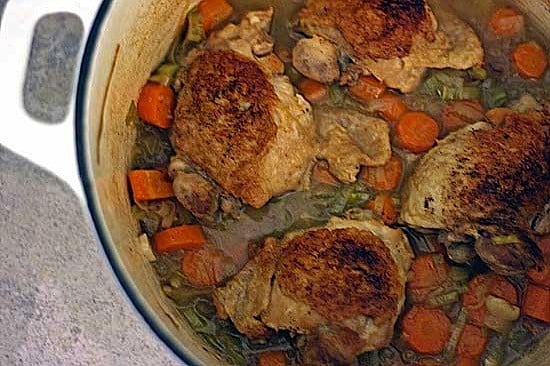
Within ten minutes of being put into the oven, this chicken filled the entire house with the most amazing smells and made our stomaches grumble. It doesn’t look like much in the pot, but this is hands-down the best chicken I’ve ever eaten. Shawn agreed.
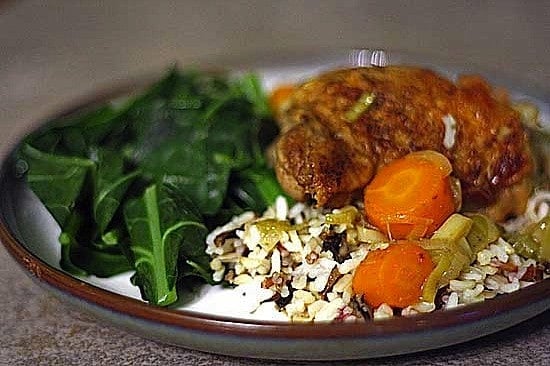
Although the chicken is fall-off-the-bone tender from braising, a few minutes under the broiler crisps the skin right back up — a trick I’ll definitely use again in the future. The cider vinegar permeates the chicken with its sweetness and gives the sauce a subtle tang that goes perfectly with sides of wild rice and steamed collard greens — go ahead and make extra sides, because you’ll want something to help sop up every last morsel of sauce.
(We’re hooked on wild rice right now but brown rice, mashed potatoes or couscous would also make great starchy sides for this meal. Also, while any green vegetable would work, the combination of collard greens and cider vinegar is a classic.)
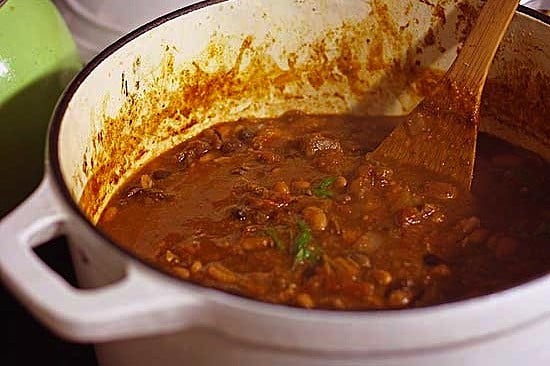
The subtle, smoky heat of chipotles peppers and the bright snap of pickled onions make this rich stew one of our favorites, and Shawn often requests it.
Unlike other chili recipes that use ground meat, this one calls for cubes of stew beef that, combined with the cornmeal used to thicken it, give the chili a rustic feel that reminds me of cowboys eating around a campfire. This chili is hearty enough to serve on it’s own – no need for rice – but I like to have a few corn tortillas on the side to help sop up the last bits of sauce.
Don’t be tempted to skip the onions – they’re what makes this dish, and it just isn’t the same at all without them.
Tip: I almost always buy packages of pre-cubed stew beef for this recipe, but I find that it’s best to cut each cube into two or three pieces before cooking. Otherwise, they’re too big and I need to use a knife in order to eat my chili. Cutting the cubes into smaller pieces also increases the surface area of the beef, making more room for the other flavors. If you can’t find pre-cubed meat, you can use a chuck roast or any other cut of meat suitable for stewing/braising.