15+ Healthy Beef Recipes for Dinner | Healthy Weekend Recipes | Soups and Stews Ropa Vieja with Olives and Capers
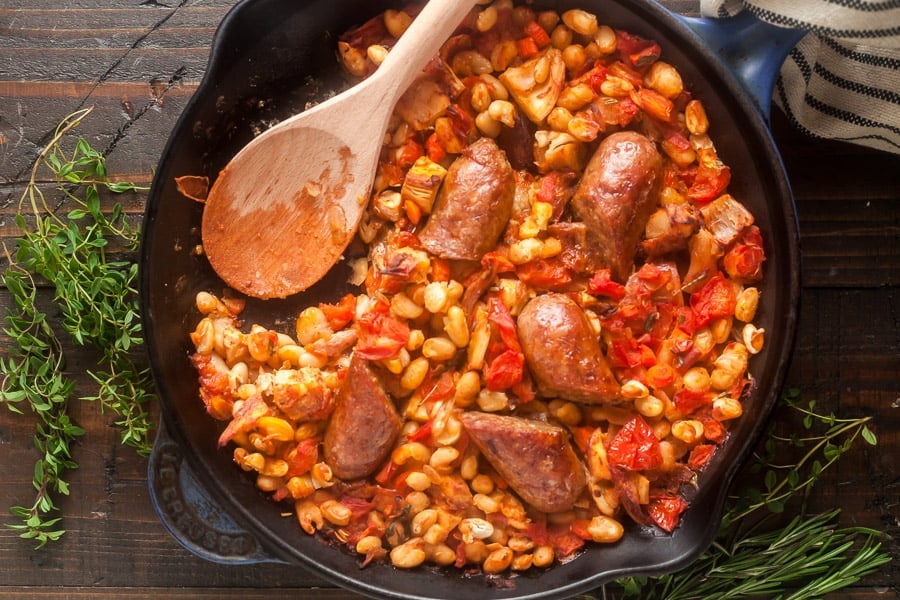
Dairy Free or Lactose Free | Gluten-Free | Healthy One Pan Recipes | Soups and Stews Cassoulet with White Beans, Sausage & Turkey