Healthy Weeknight Dinner Recipes | 15+ Healthy Egg Recipes | 20+ Healthy Pork Recipes | Healthy Breakfast Recipes | Healthy One Pan Recipes Mexican Omelette with Chorizo
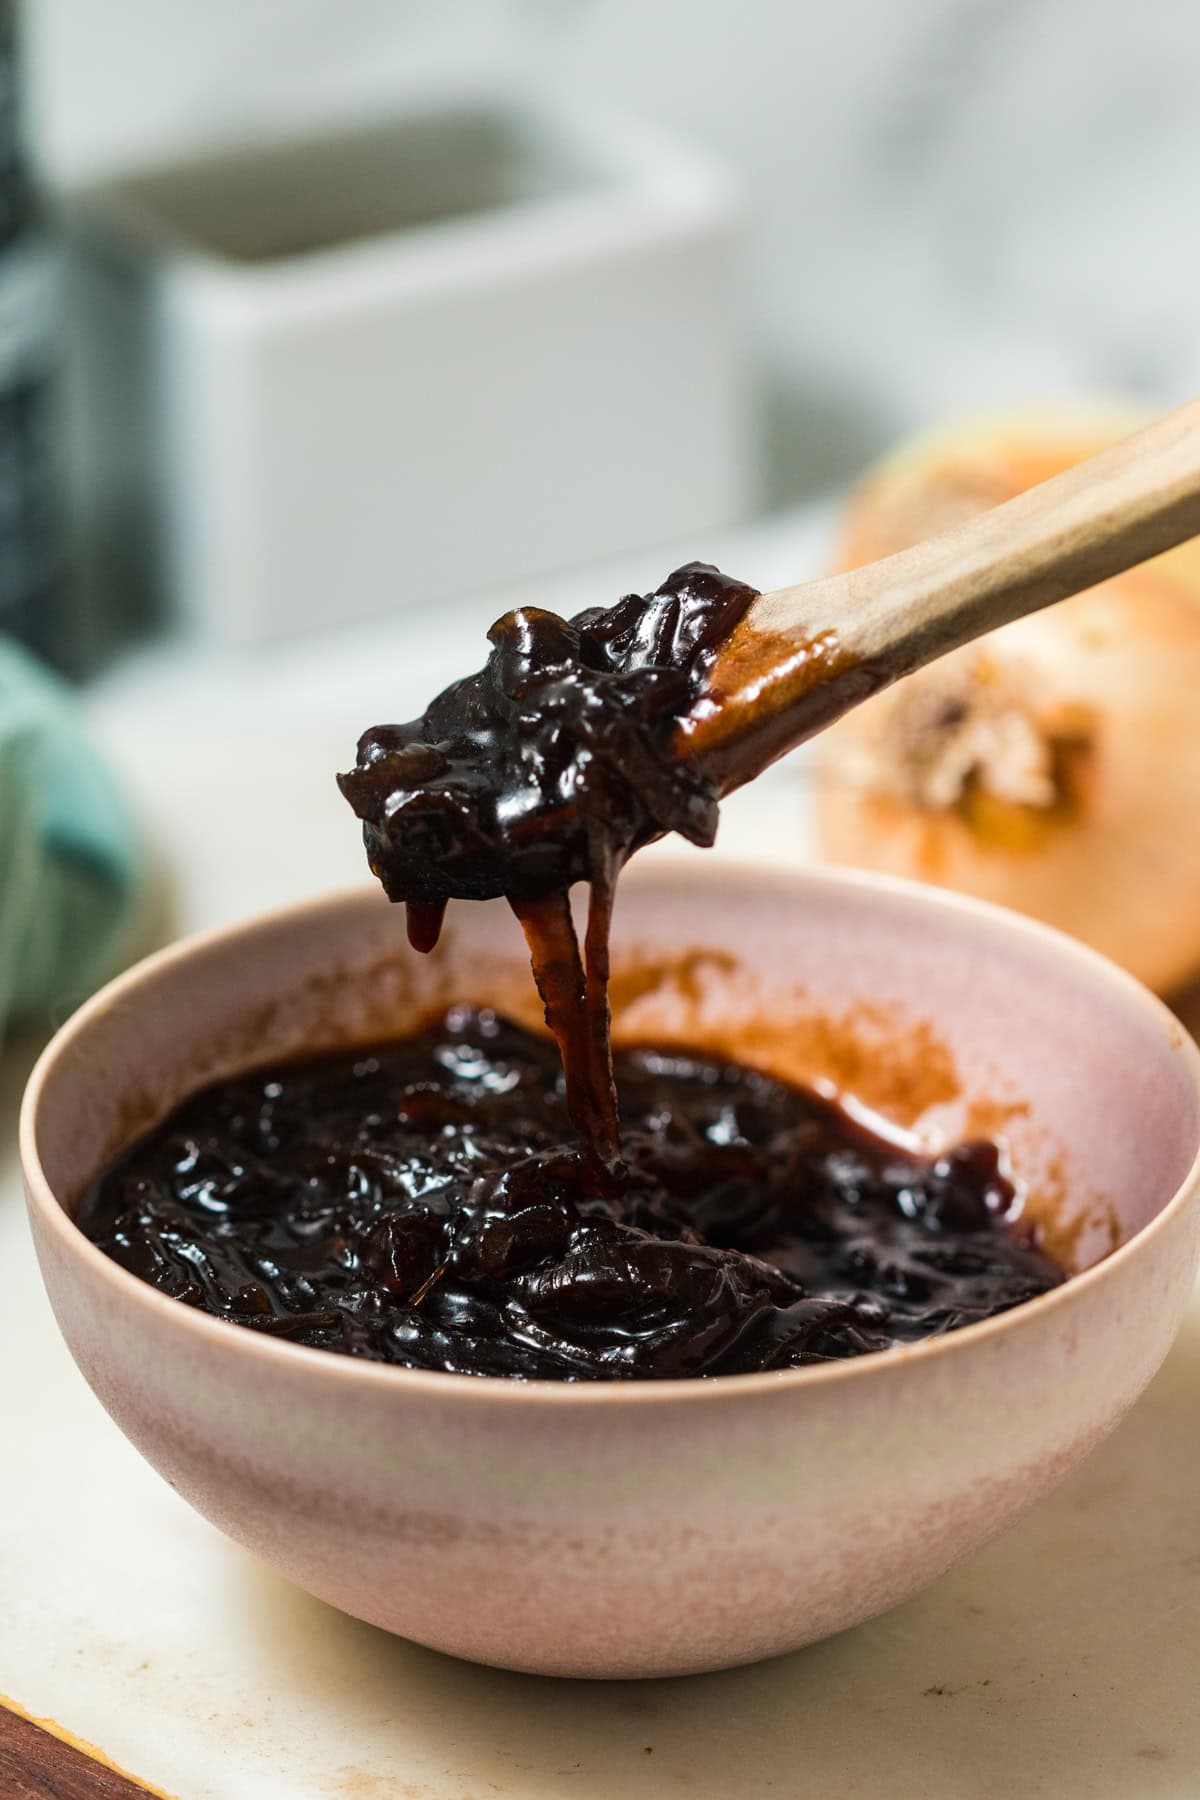
Gluten-Free | Sauces, Dressings, and Pantry Staples | Special Diets | Vegetarian Recipes Balsamic Onion Jam