Skip to content
Facebook
Instagram
Pinterest
About
About
Blog
Busy Foodie Instagram
Cart
Trending: Smoothies
Search
Home
About
Recipes
Expand
Special Diets
Expand
Dairy Free or Lactose Free
Gluten-Free
Low Carb
Paleo
Whole 30
Breakfast Recipes
Expand
15+ Healthy Egg Recipes
35+ Healthy Muffin and Quick Bread Recipes
15 Healthy Oatmeal and Breakfast Grain Recipes
Toasts, Parfaits, and Fruit Breakfasts
Sweet Breakfast Recipes
Drink Recipes
Expand
Easy Cocktail Recipes
Hot Drinks
Refreshing Non-Alcoholic Drinks
Smoothie Recipes
Vegetarian
Healthy Weeknight Dinner Recipes
Expand
15+ Healthy Beef Recipes for Dinner
45+ Healthy Chicken Recipes
25+ Fish and Healthy Seafood Recipes for Dinner
20+ Healthy Pork Recipes
Sandwiches and Burgers
Dessert Recipes
Expand
Cookies and Bars Recipes
Pies, Cobblers, and Crisps
Ice Cream and Frozen Yogurt Recipes
Cakes, Cupcakes, and Doughnuts
Contact
Instagram
Toggle Menu
Home
/
2009
/
December
Month: December 2009
Uncategorized
The Best of 2009
Healthy Weeknight Dinner Recipes
|
Side Dish
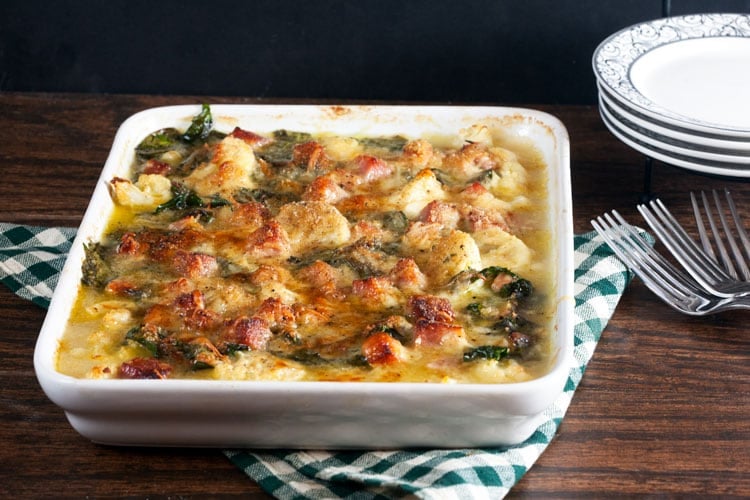
Cauliflower and Chard Gratin
Search
Home
About
Recipes
Toggle child menu
Expand
Special Diets
Toggle child menu
Expand
Dairy Free or Lactose Free
Gluten-Free
Low Carb
Paleo
Whole 30
Breakfast Recipes
Toggle child menu
Expand
15+ Healthy Egg Recipes
35+ Healthy Muffin and Quick Bread Recipes
15 Healthy Oatmeal and Breakfast Grain Recipes
Toasts, Parfaits, and Fruit Breakfasts
Sweet Breakfast Recipes
Drink Recipes
Toggle child menu
Expand
Easy Cocktail Recipes
Hot Drinks
Refreshing Non-Alcoholic Drinks
Smoothie Recipes
Vegetarian
Healthy Weeknight Dinner Recipes
Toggle child menu
Expand
15+ Healthy Beef Recipes for Dinner
45+ Healthy Chicken Recipes
25+ Fish and Healthy Seafood Recipes for Dinner
20+ Healthy Pork Recipes
Sandwiches and Burgers
Dessert Recipes
Toggle child menu
Expand
Cookies and Bars Recipes
Pies, Cobblers, and Crisps
Ice Cream and Frozen Yogurt Recipes
Cakes, Cupcakes, and Doughnuts
Contact
Instagram
Toggle Menu Close
Search for:
Search